Life is a puzzle
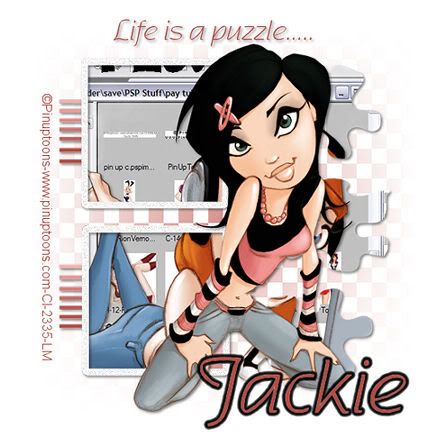
I am using the awesome artwork of Rion Vernon aka Pinuptoons his artwork is available HERE.
Please do not use this tube without the correct licence.
Please do not use this tube without the correct licence.
Thanx.
I am using template 24 from Maggie of Magsnificent Creations find it HERE
This tutorial uses DSB flux Bright noise, but if you don’t have that you can use noise that comes with psp.
This tutorial assumes you have prior knowledge of psp and its tools. No scrap kits are used in this tutorial.
ONTO the TUT
Open the template in psp duplicate (shift+D) and save the original for another time, delete the (c) layer, then resize ALL layers by 90%, then go to canvas size and change to 550x500, and re fill the background layer.
Find a premade tag using the same artist you have picked to do the tut with, copy it, then go to BOTTOM SQUARE layer selections ~ select all ~ selections float ~ de float then paste as a new layer, DO NOT move the copied tag to make it fit or the tag u now make will look distorted,
Follow the instructions above for the TOP SQUARE, BOTTOM PUZZLES, MIDDLE PUZZLE & TOP PUZZLE layers. After u have pasted the tag into all the selections you made delete the original layers leaving u with just the tag in place of the layers.
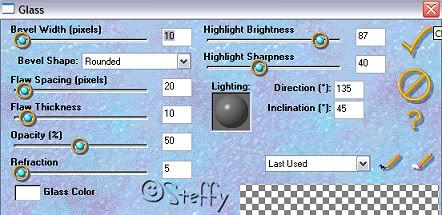
Find the TOP FRAME layer selections ~ select all ~ selections ~float ~de float, then go to plug ins find dsb flux and add the bright noise settings as below.
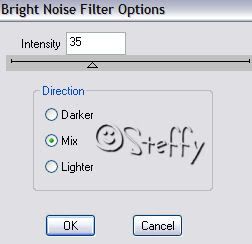
Do the same with the BOTTOM FRAME layer.
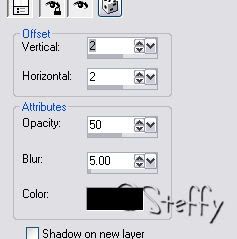
Then add the drop shadow below to all the layers except from the ‘picture’ layers.
Then add the drop shadow below to all the layers except from the ‘picture’ layers.
Make a gradient using 2 colours from your tube, find the BOTTOM LINES layer, selctions ~ select all ~ selections float ~ de float, then flood fill with your gradient, do the same for the TOP LINES layer, then click on the top lines layer and merge down then add the same drop shadow.
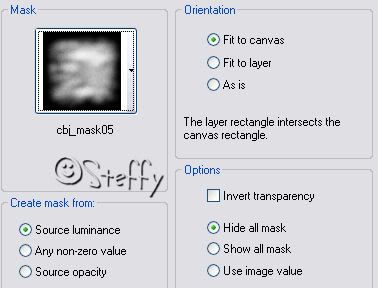
Go to the background layer and add a new raster layer, invert your gradient and floodfill the layer and add a mask of your choice.
Go to the background layer and add a new raster layer, invert your gradient and floodfill the layer and add a mask of your choice.
Add the tube of your choice and add the same drop shadow to it, re size all layers to your liking, add the (c) info, and the name u wish to use, i added eye candy impact gradient glow at the factory settings to the name.
(I also added the saying ‘Life is a puzzle’ but that’s up to you.)
Re size the tag to your liking and save as a jpeg.
This tutorial was written by thefishqueenandprincessofpinkdopsp.blogspot.com.
On the 21/07/09, this made for a template challenege on fantasy flight graphics and is not copied from anyone else, if there is a simualr one about then we are sorry but we did not do this intestinally.
Please DO NOT copy this tutorial in any part onto the web without our express permission, but feel free to text link only directly to this tutorial for ppl to do it.