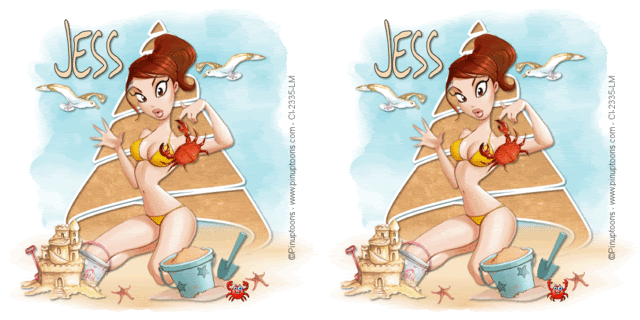
Certainly Cancer
This tutorial assumes you have prior knowledge of psp and its tool. This tutorial was written in psp9. I am using the awesome artwork of Rion Vernon aka pinuptoons. His artwork is only available from CILM. Please do not use this image unless you have a licence to do so.
Supplies needed
Cancer template
My supplies HERE (including template)
I am using Maggie’s Sand thank you Maggie, you can find Maggie’s awesome work
or
HERE.
Onto the tutorial
Open the template in psp shift+D to duplicate and close the original, for later use.
Open all other supplies in PSP.
On the template copy and paste Maggie’s sand as a new layer and place at the bottom of the shell, go to the inner layer of the template selections ~ select all ~ Selections float ~defloat ~ copy the paper as a new layer (or feel free to use your own) selections ~ invert and making sure you are on the paper layer hit delete on your keyboard. Select none.
Go to the outer layer and add a drop shadow of your choice I am using 2,2,50,5 black.
Copy and paste your tube as a new layer and place where you like, see mine for my placement. Resize the sandcastle by 60% and place to your liking or again see mine for placement. Find the nautical accessories and copy and paste elements to your liking.
Copy and paste your tube as a new layer and place where you like, see mine for my placement. Resize the sandcastle by 60% and place to your liking or again see mine for placement. Find the nautical accessories and copy and paste elements to your liking.
Go to the paper 5 layer and add as a new layer just above the background layer. Re size by 80% and move up a little, then apply mask KRD mask 9 and merge group. Grab your deform tool and deform it so it looks like sky.
Add a drop shadow to all element layers but NOT the sand!
Add your (c) info and name.
To animate
Copy merged, and open AS paste as a new animation. Duplicate so you have 2 identical layers find the animation I provided and edit select all ~ edit copy then back to you tag edit selection all ~ edit paste into selected frame place to your liking once again see mine for placement.
Re size to your liking and save as a gif.
This tutorial was written on the 11/04/09 By Steffy, any likeness to other tuts is a coincidence and not done to cause upset. Fell free to text link only to this tut, and remember our TOU.
thanx


0 comments:
Post a Comment