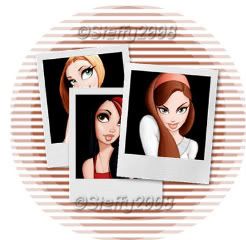
Picture this

Supplies needed HERE
The tut
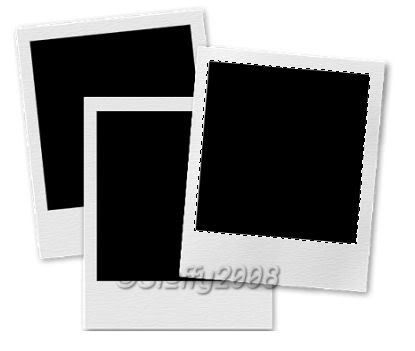
Open a new raster layer 600*600 Flood fill with white Copy and paste the Polaroid tube as a new layer.
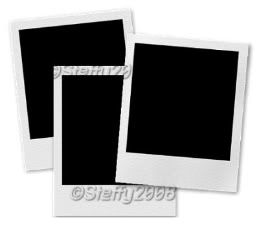
Click inside the black area of the first Polaroid with your magic wand with the following setting like so
Find the first tube you are using re size to your liking, ( I resized mine by 60% smart size as this stops the jaggered edge on the tube )
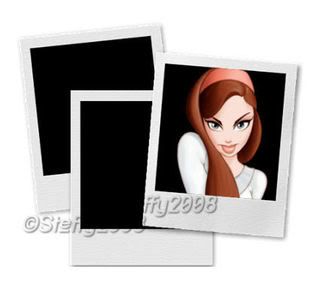
Then copy and pate as a new layer move the tube into the picture then selections invert then click delete on your keyboard, selections select none. It should look something like this.
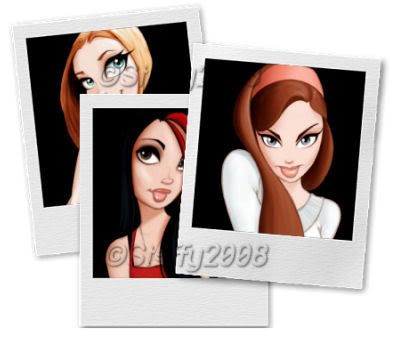
Repeat this process with the other 2 pictures making sure that u always go back to the Polaroid layer when using the magic wand. When u have finished you should have something like this.
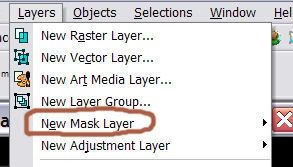
Go to the very bottom layer and add a new layer flood fill it with a colour that matches with your tubes Open WSL mask 181 then go to layers ~ new mask layer ~from image ~ click the drop down box and find WSL mask 181 source luminance ticked invert mask unticked like so

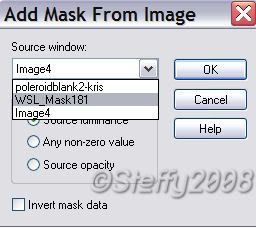
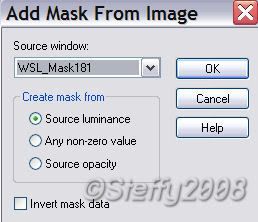
then click ok
Then your layer palette should look something like this Right click the layer that says mask and merge group. You should have something like this
Staying on the mask layer re size this layer ONLY by 85% bicubic. Then in the layer palette move the opacity to around 50% like so
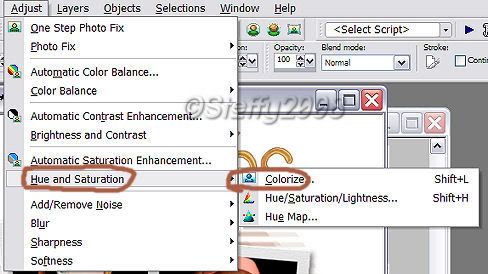
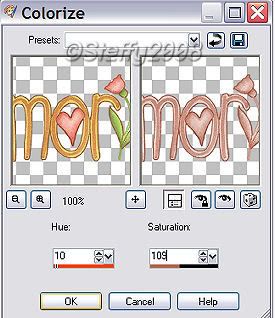
Make sure you are on the top layer and add the word art as a new layer re-size by 85% Bicubic then colorize to your like. To colourize got to the colour you used for the mask layer and look at the colours numbers and remember the ones i have circled. Then go to Adjust ~hue and saturation ~colourise~ and in the 2 boxes put the 2 numbers u have just remembered. In my case it was 10 & 109 look at the screen shot below.
Effects 3 d effect drop shadow with the following settings
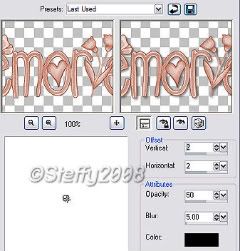
Add your name (I added the same drop shadow to my name ) and © info. Now if u want to stop there u can do, just save merge layers flatten and save as a Jpg. If u want to animate then carry on after u have added the name and © info.
To animate
Merge visible the 3 tubes u placed in the Polaroid and put the opacity down to nil edit copy merged then open animation shop and paste as a new animation, back to psp change the opacity on the merged layer to 26 edit copy merged animation shop edit past AFTER the current layer back to psp change the opacity to 30 edit copy merged edit paste AFTER current layer carry on doing this changing the opacity a little bit at a time until u have the opacity on 100%
I have 10 layers. Nearly done now lol
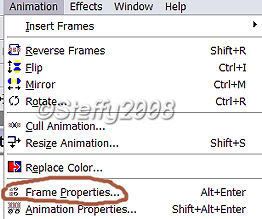
Then click on the last frame to make the blue box go round just that frame and change the number to 100 then resize to your liking, and save as a gif Save as a gif
Hey presto u have a new tag!
Here is the non animated version






0 comments:
Post a Comment